LONG EXPOSURES
filters and stuff
I was playing with my fancy new Benro 10-stop ND filter1 and doing a deep dive on setting up the Canon R-5 for long exposures, so I thought I’d stop scribbling ideas down in my notebook and bust out the substack for you guys. If you’re an old hand at ND games, jump to the bottom.

ND BASICS
ND = Neutral Density = the ability to absorb light without putting any other information into the scene. It shouldn’t add a color cast, although many do. It shouldn't alter any other characteristic directly except for exposure time.
You can buy a variable ND, which is basically two polarizer filters set in opposition. As you rotate it, it shifts the density. However, at the least dense and most dense ends of the range, you end up with a lot of weirdness in the shot. Streaks, warps, color shifts — especially using it on a wider angle lens.
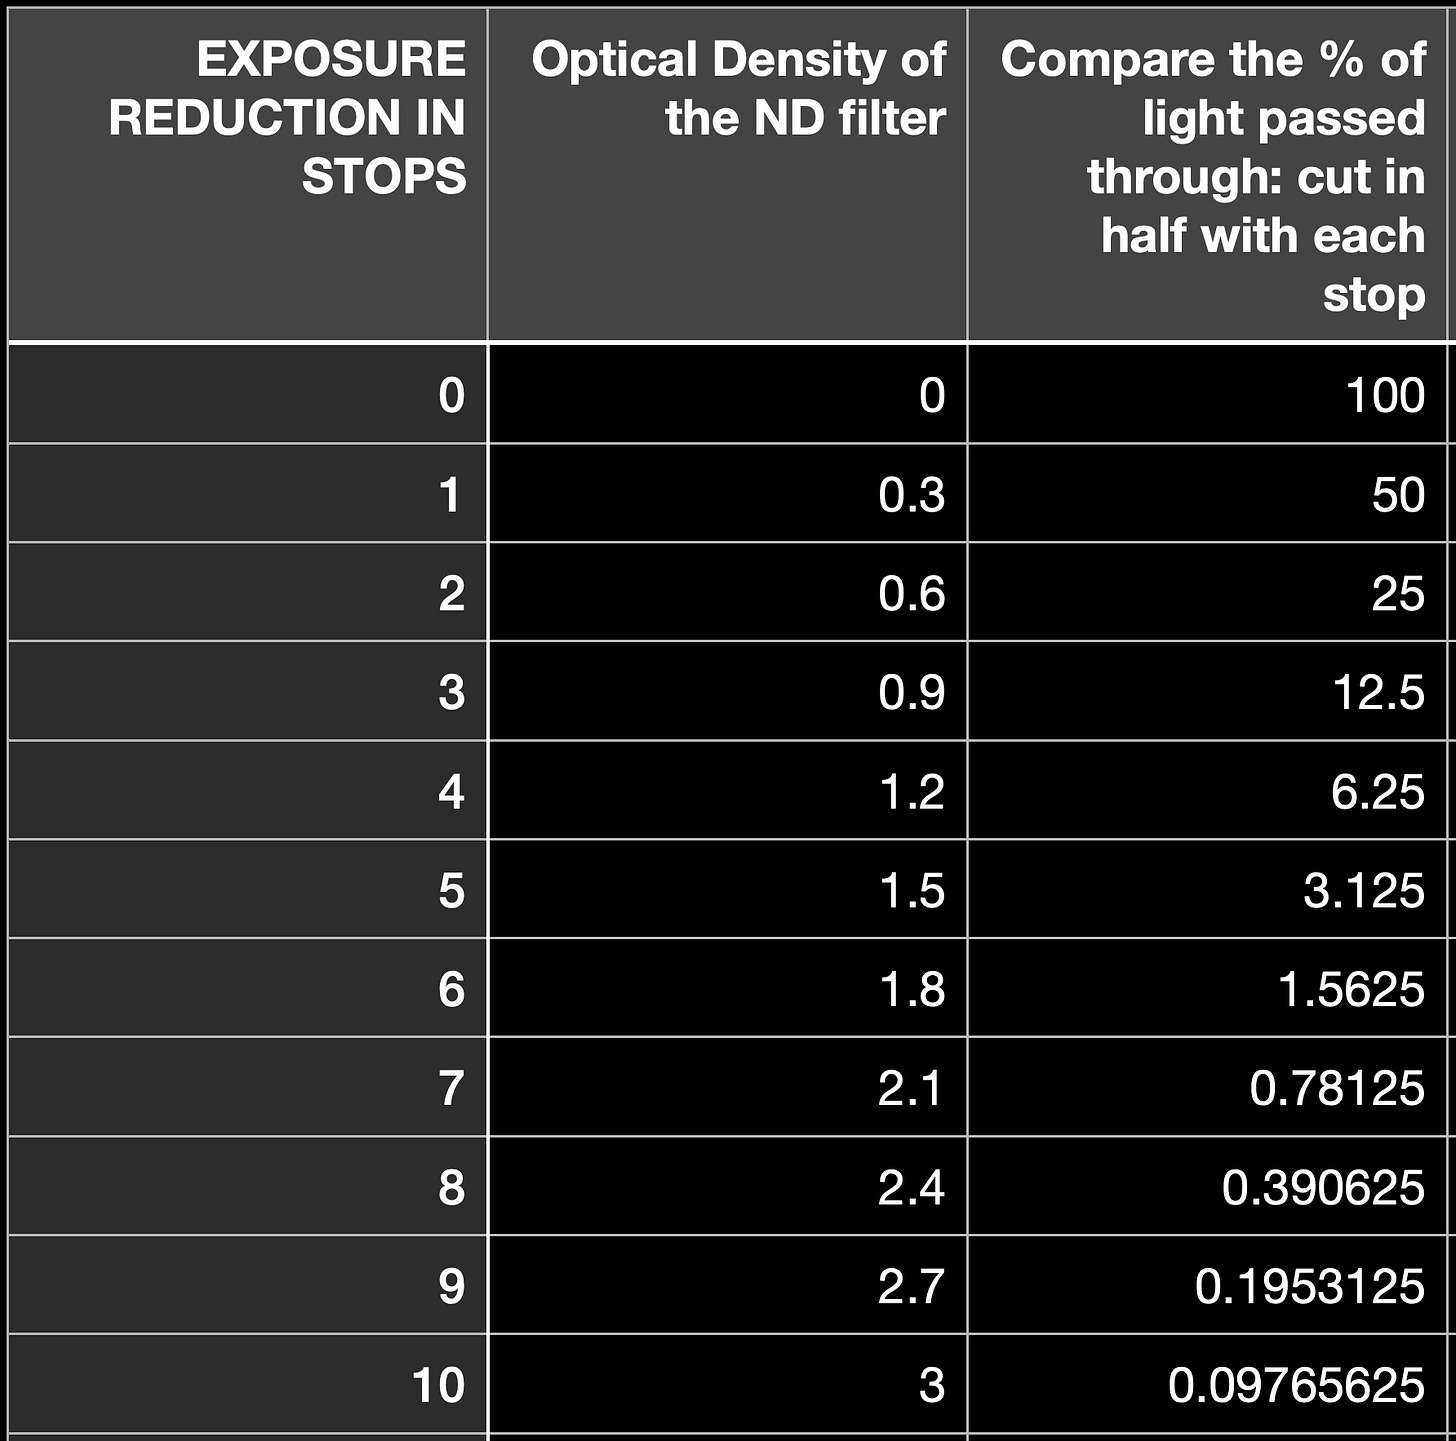
ND filters come marked in Stops and/or Optical Density numbers — all you need to know is that higher numbers mean less light. The less light coming in, the longer an exposure you can have.
Protip: buy the ND in the biggest filter size you need (for me, that’s a 95mm) and then step-down rings to fit the other lenses you have (for me, an 82mm, a 77mm and a 72mm). You won’t be able to put a lens hood on, so watch out for the front of the lens.
Also, PLEASE remove the skylight filter before using an ND. You almost never want two extra pieces of glass in front of your lens—at least not without a really good reason. The more surfaces you have, the more dirt and reflections you have.
On the other hand, you could stack ND filters on top of each other, if you have to, to get the slowdown you want—BUT—you are degrading the image, and probably getting some weird voodoo by doing it. Maybe it’s worth it though—if the choice is between no picture or a slightly flawed one, always take the picture.
10 STOP
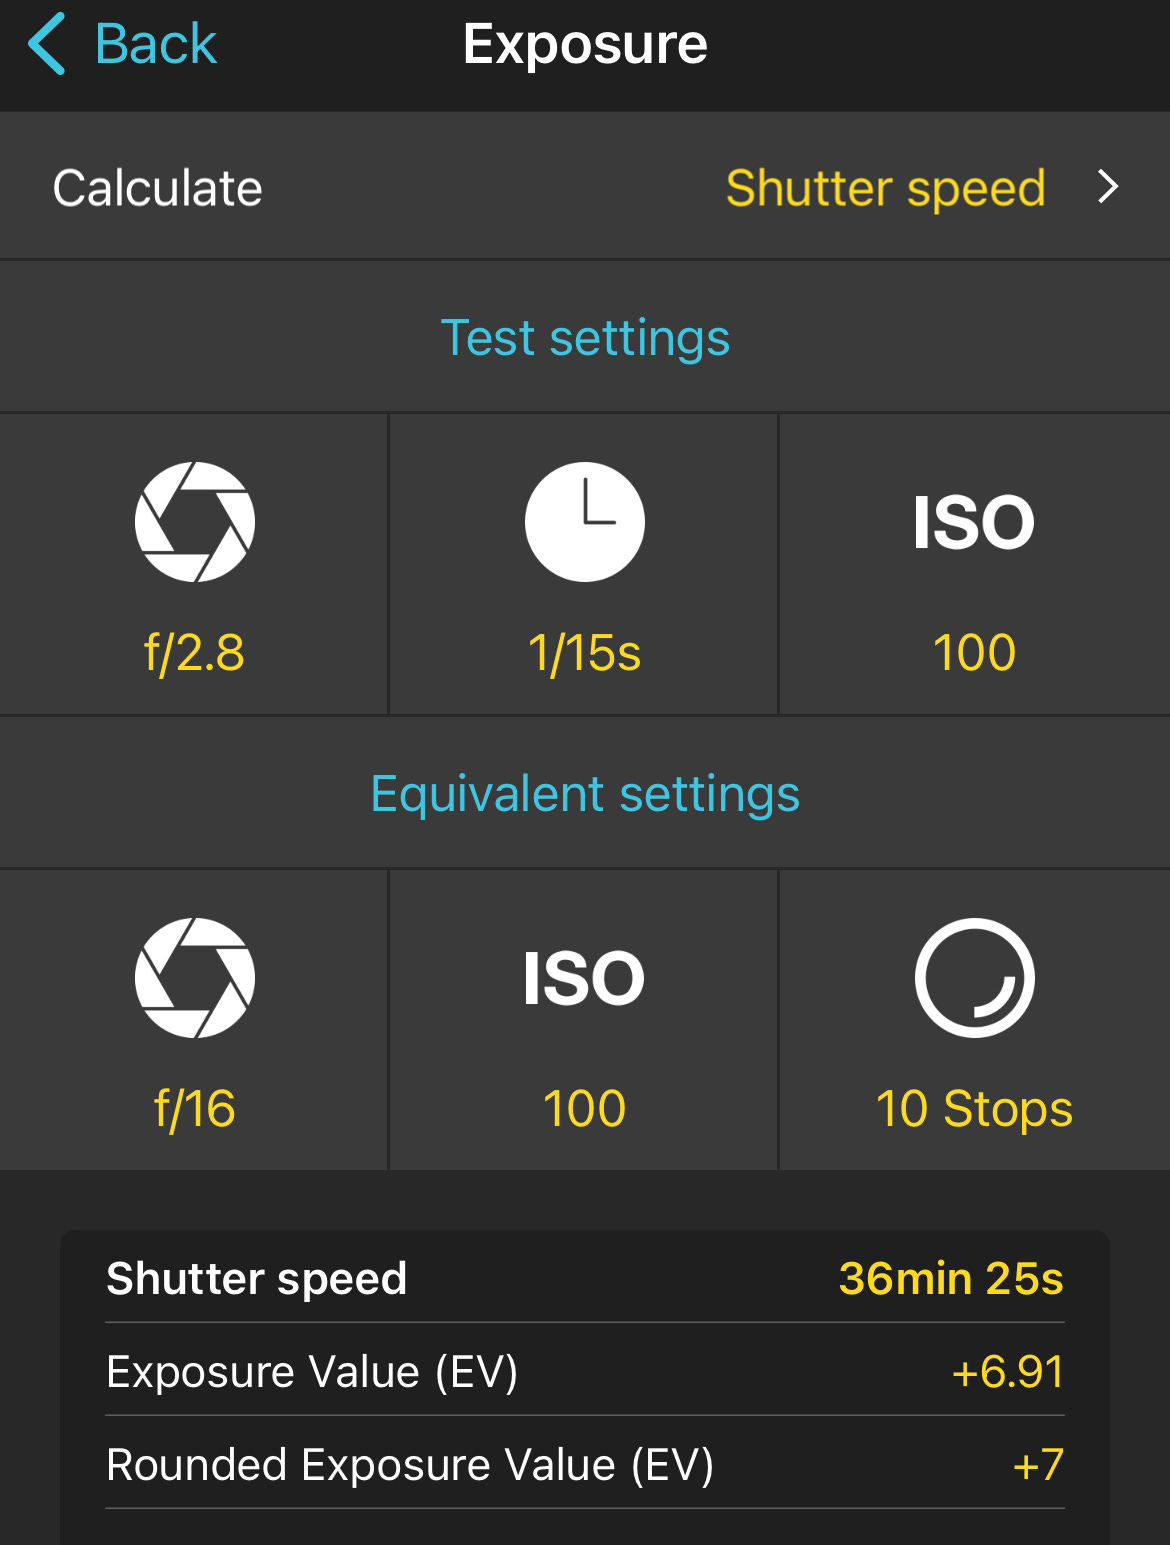
If I want to do ten-stop reduction in exposure, first I need to do a test exposure with no filter to set up my framing and check my base exposure. Let’s say I do an in-camera meter and arrive at ƒ2.8, 1/15th second, ISO 100 as my base. Now I can either do the math in my head, or use an exposure equivalency calculator, like the one in PhotoPills2 .
If I want to have deep focus, keeping the ISO low because I want minimal noise3 and I want a really long exposure time, I can set the camera up to ƒ16, 36 minutes, 25 seconds, ISO 100 while wearing a 10 stop ND.
OTHER STUFF YOU MIGHT NEED TO HAVE OR KNOW
On the Canon R5, I can put the camera into B mode — which technically still stands for Bulb mode, which comes from having an ancient type of mechanical camera trigger cable that used a squeeze bulb to hold the shutter open while you timed the exposure with a watch. Old school. Since they held onto old terminology, they also held onto an old methodology, with an update. In B mode, if I hold the shutter button down, the shutter stays open, closing when I let go. Which, in long exposure terms, sucks. One, I don’t want to hold the button for two minutes or twenty. Two, each time I push or release the button, the camera moves. I don’t care how controlled you are, the camera is going to move.
Some cameras have a T or Time mode, which is like B, except that you lift your finger off the button. You still have to push it again to close the shutter.
The update for my camera (and maybe yours? Read the manual!) is that I can do two things:
Put it in 2 second delay as the ‘Drive’ mode so by the time the shutter opens, any vibrations are gone.
Use the built-in timer!! Buried deep inside the maze-like menu system is a timer function that lets me set an exposure in hours, minutes, and seconds.
Now the old-school methodology also works just fine. If your camera doesn’t have a timer built-in, you can grab a locking electronic cable release4, set the camera to B mode, and remotely open the shutter with the release, and start your stopwatch.
ND CHART
AND WHY WOULD I DO THAT?
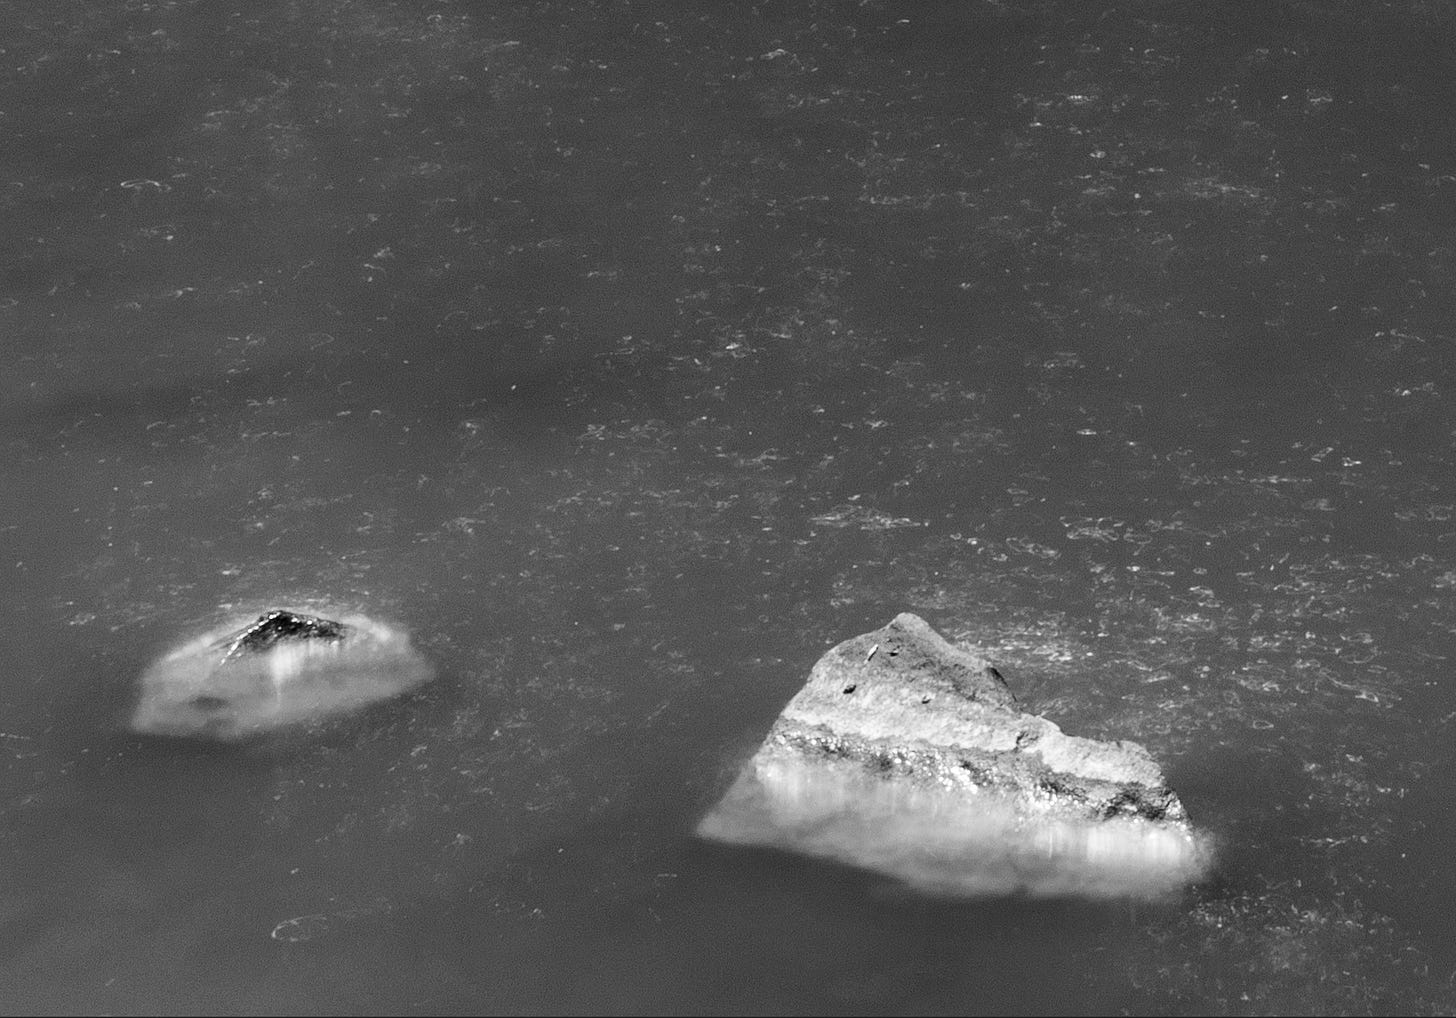
Time is one of our fundamentals. Any picture ever taken uses time as a factor. When we alter time, we change the image. A super fast shutter can freeze a hummingbird’s wings. A super slow one can erase the entire bird from the photograph. Think about that. By altering one setting you can completely change the existence of an element of the image.
The camera once again proves itself as an otherwordly tool that allows us to see and experience an alternate reality. Our eyes can’t see a hummingbird’s wings while they are in motion. We also can’t see what tree branches look like blurred together over ten minutes. The only way we can see these things is through the camera.
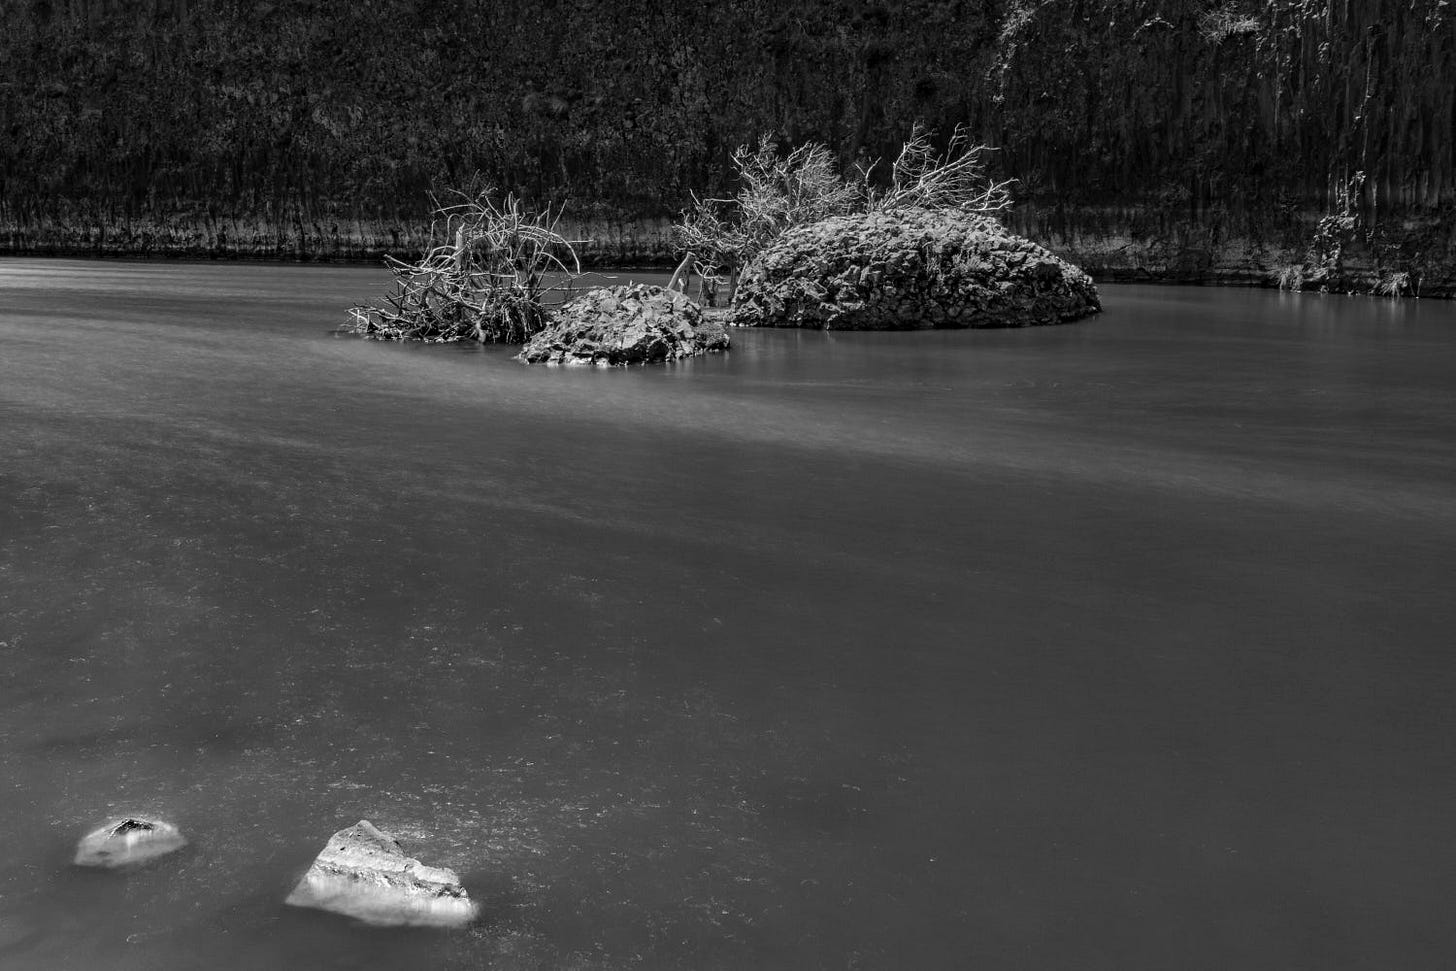
When we slow down time, when our shutters stay open longer, weird things start to happen. Weird things means glimpsing unseeable stuff that transforms the picture. It’s like peering into an alternate world. Anything that moves could be interesting with long exposures: tree branches, tides, crowds of people, stars.
You can even remove things from a photograph with time — anything that doesn’t stick around long enough, in roughly the same place, is probably going to go away. In that 36-minute image, I could walk through the shot many times, all throughout, and unless I moved very slowly, or painted myself with a speedlight, I wouldn’t show up.
What if: we spend a lot of time figuring out to stop action or motion in most of our work, so what happens if we reverse that?
Closer and closer we get!
-andy
Benro doesn’t give me any $$, but they do give me a pro-deal. That said, if their kit wasn’t up to my standards, I’d let you know.
Although watch out for heat noise! Some cameras, if you run the sensor for a long period, can develop a lot of heat on the sensor. Heat adds visual glitches aka noise. Sometimes these are easy to remove, sometimes not. Test your camera! A basic test is to put the body cap on, set the camera up for a long exposure and photograph ‘nothing’. You will get something for sure! Even at relatively normal exposures, you’ll probably see something - and that’s perfectly normal. Just compare a normal exposure to a 10 minute one to see if you are going to have heat issues. And of course, environmental conditions factor in. A 100° day in the desert is different than my living room in Portland on a rainy day.
A clever app full of useful photo-related stuff!
Electronic releases are specific to the brand/model of camera. A Nikon release won’t work in a Canon. Some of them are fancy with timers and intervalometers. Some are super fancy and let you control ƒ stop, shutter speed and ISO. And some are super simple.


